This post may contain affiliate links. As an Amazon Associate, I earn from qualifying purchases. If you click and buy, we may earn a small commission at no extra cost to you. Learn more.
Key Takeaway: A clean air fryer cooks better, lasts longer, and won’t fill your kitchen with smoke. This step-by-step guide shows you exactly how to keep yours spotless—plus the game-changing hacks that make cleanup a breeze!
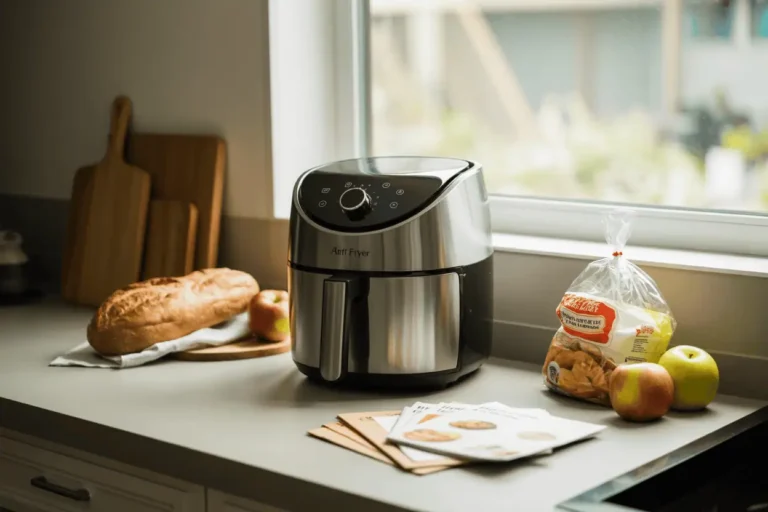
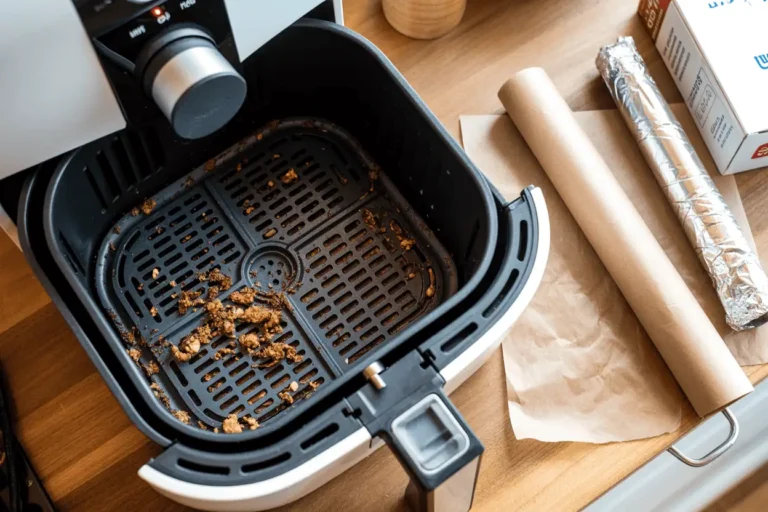
Your air fryer’s been working overtime cranking out crispy fries, juicy chicken, and those perfect reheated pizza slices. But now it’s looking a little worse for wear, and you’re starting to notice some funky smells when you fire it up.
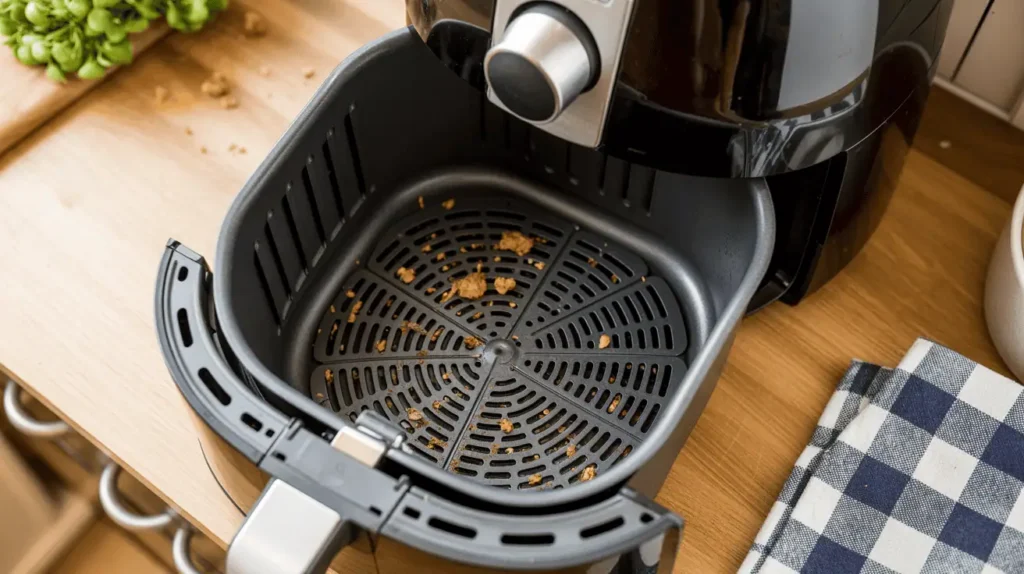
Here’s the thing—a dirty air fryer doesn’t just look gross, it actually affects your food. Grease buildup can cause smoking, weird flavors, and even uneven cooking . Plus, all that grime can become a fire hazard if you let it get out of hand.
The good news? Cleaning your air fryer is way easier than you think, and I’ve got some tricks that’ll cut your cleaning time in half. Let’s dive into the step-by-step process, plus the hacks that actually work (and the ones that don’t).
Why Proper Air Fryer Cleaning Actually Matters
Before we jump into the how-to, let’s talk about why this matters. Your air fryer works by circulating super hot air around your food at high speeds. When grease and food particles build up on the heating element or basket, they can:
- Create smoke and bad smells that ruin your food’s taste
- Cause uneven cooking because blocked airflow can’t reach all surfaces properly
- Become a fire risk if grease accumulates near the heating element
- Transfer flavors from one meal to the next (nobody wants fishy-tasting french fries!)
One study found that air fryers with heavy grease buildup cooked 15% less efficiently and produced significantly more smoke during operation.
The Complete Step-by-Step Cleaning Process
Step 1: Safety First – Unplug and Cool Down
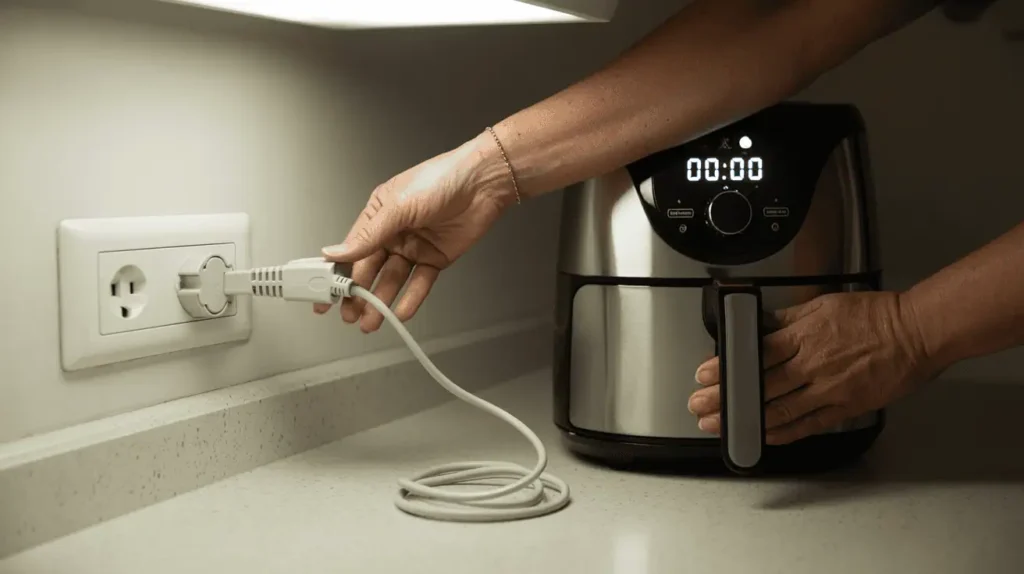
This seems obvious, but you’d be surprised how many people skip this step. Always unplug your air fryer and let it cool completely before starting any cleaning . The heating element can stay hot for 30+ minutes after cooking, and getting water or cleaning products on electrical components is dangerous.
Pro tip: I usually start cleaning about 45 minutes after I finish cooking. This gives everything enough time to cool down but prevents the grease from hardening completely.
Step 2: Remove All the Parts
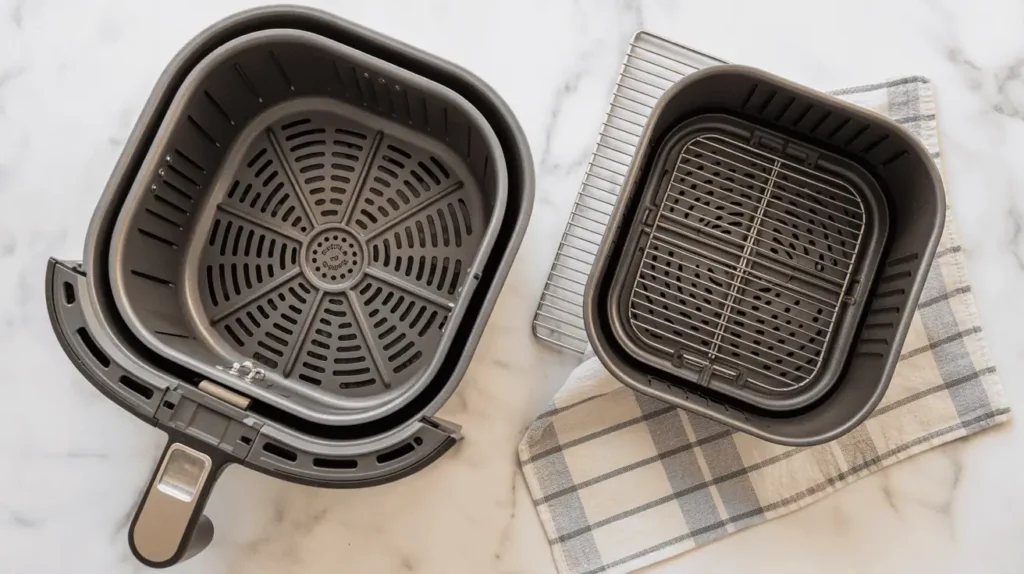
Take out everything that comes out:
- The basket or tray
- Any additional racks or accessories
- The drip pan (if your model has one)
Most modern air fryers have dishwasher-safe parts, but I’ll show you both dishwasher and hand-washing methods below.
Step 3: Clean the Removable Parts
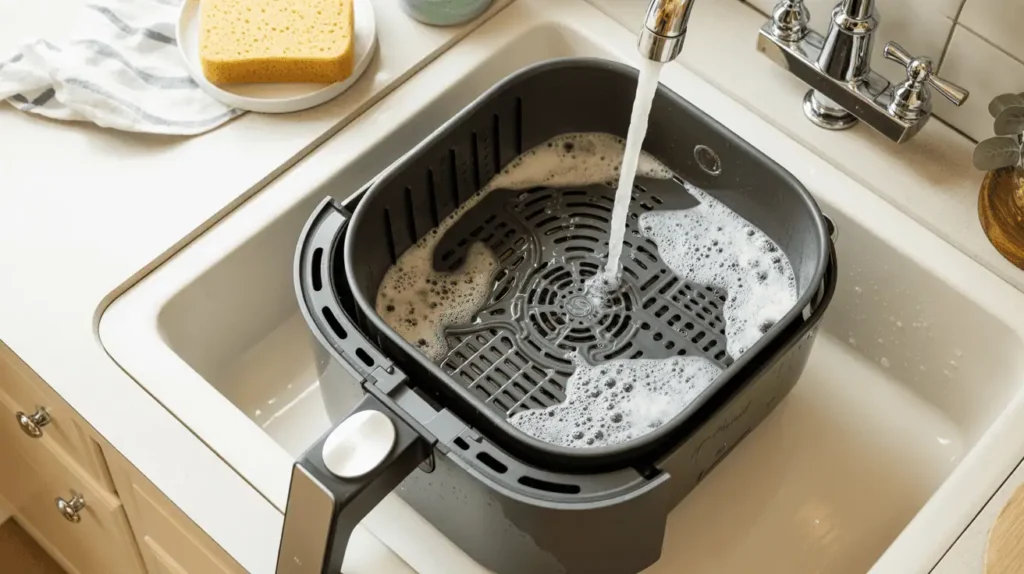
For Regular Cleaning (after each use):
Wash removable parts with warm, soapy water using a soft sponge or cloth. Mild dish soap like Dawn works perfectly for cutting through grease without damaging nonstick coatings .
For Stubborn Buildup:
If you’ve got baked-on grease that won’t budge with regular soap:
- Soak first: Fill your sink with hot water and dish soap, then let the parts soak for 15-30 minutes
- Make a baking soda paste: Mix 3 tablespoons baking soda with 2 tablespoons water
- Apply and wait: Spread the paste on problem areas and let it sit for 10-15 minutes
- Scrub gently: Use a soft-bristled brush or non-abrasive sponge to work away the grime
- Rinse thoroughly: Make sure all soap and baking soda residue is gone
Important: Never use steel wool, metal scrubbers, or abrasive cleaners on nonstick surfaces . They’ll damage the coating and make food stick worse.
Step 4: Clean the Interior
The inside of your air fryer needs regular attention too, especially the heating element area.
- Wipe down surfaces: Use a damp microfiber cloth with a drop of dish soap to clean the interior walls
- Clean the heating element: Gently wipe the heating coil with a soft, barely damp cloth. Be super careful here—it’s delicate
- Get the corners: Use a soft-bristled toothbrush for hard-to-reach spots where grease likes to hide
Never submerge the main unit in water or get electrical components wet .
Step 5: Don’t Forget the Exterior
Wipe down the outside with a damp cloth to remove fingerprints and grease splatters. For stainless steel models, you can use a tiny bit of vinegar on your cloth for extra shine.
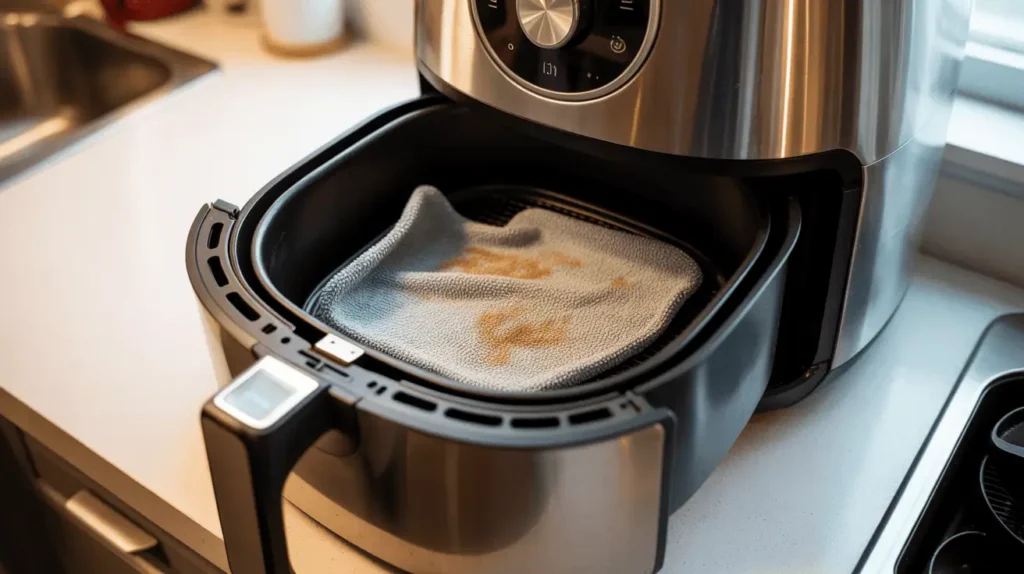
Step 6: Dry Everything Completely
This step is crucial but often rushed. Make sure every part is completely dry before reassembling . Leftover moisture can cause bacterial growth, weird smells, and even rust in some components.
I usually let everything air dry for at least 20 minutes, then do a final wipe-down with a clean, dry cloth.
Game-Changing Cleaning Hacks That Actually Work
The Dishwasher Pod Miracle
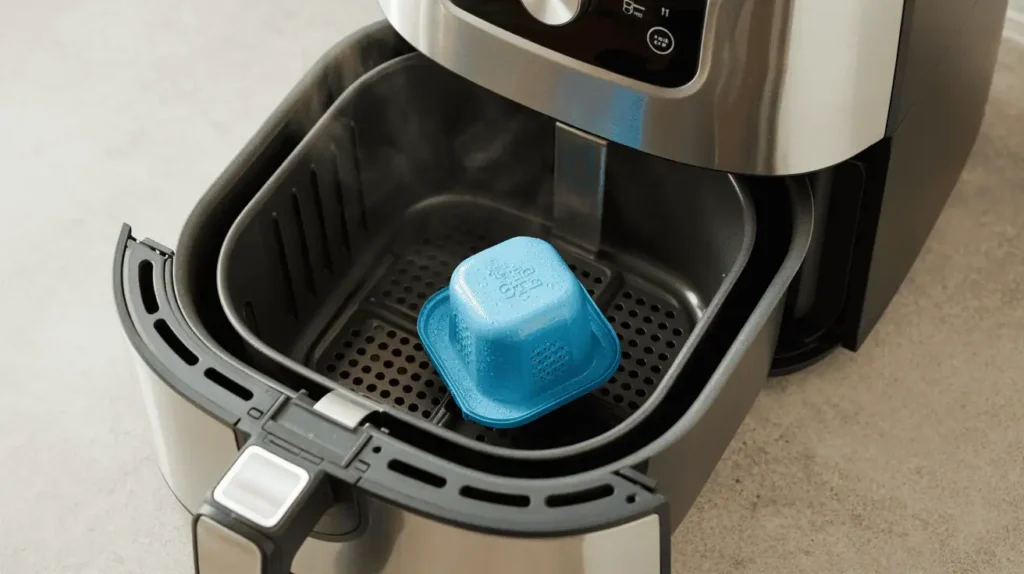
This hack has been making the rounds on social media, and I was skeptical until I tried it. Drop a dishwasher pod into your basket, add boiling water, and let it sit for 30 minutes . The enzymes break down grease and food particles like magic.
How to do it:
- Unplug your air fryer (seriously, don’t skip this)
- Place one dishwasher pod in the basket
- Pour enough boiling water to cover the bottom
- Let it sit for 30 minutes
- Rinse thoroughly with clean water
This works especially well for that stubborn, baked-on grease that regular soap can’t touch.
The Vinegar Steam Clean
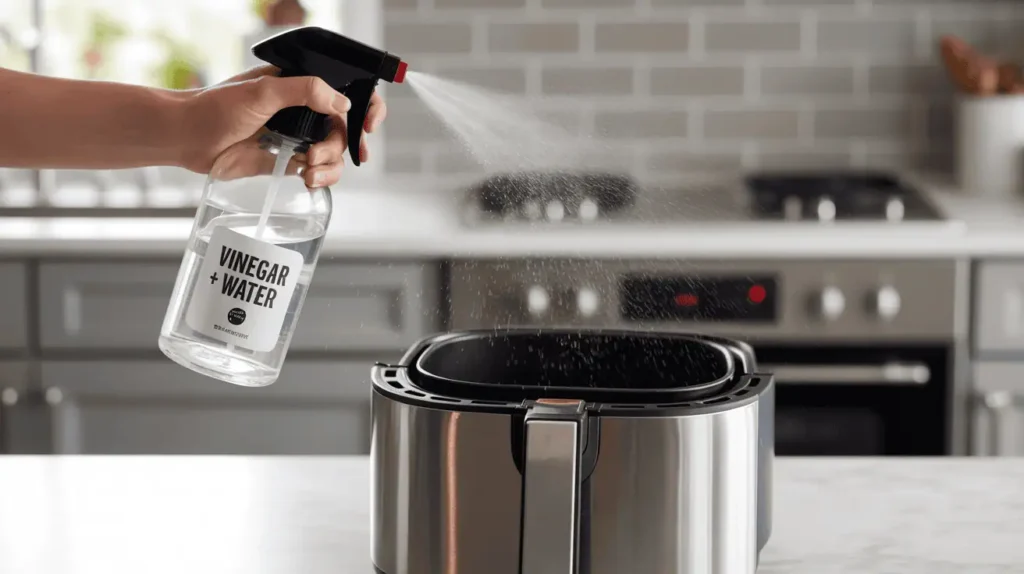
For odors and light grease buildup, this natural method is surprisingly effective. Mix equal parts white vinegar and water in a spray bottle . Spray the solution on interior surfaces, let it sit for 5 minutes, then wipe clean with a microfiber cloth.
The vinegar cuts through grease naturally and neutralizes odors without harsh chemicals.
The Lemon Fresh Trick
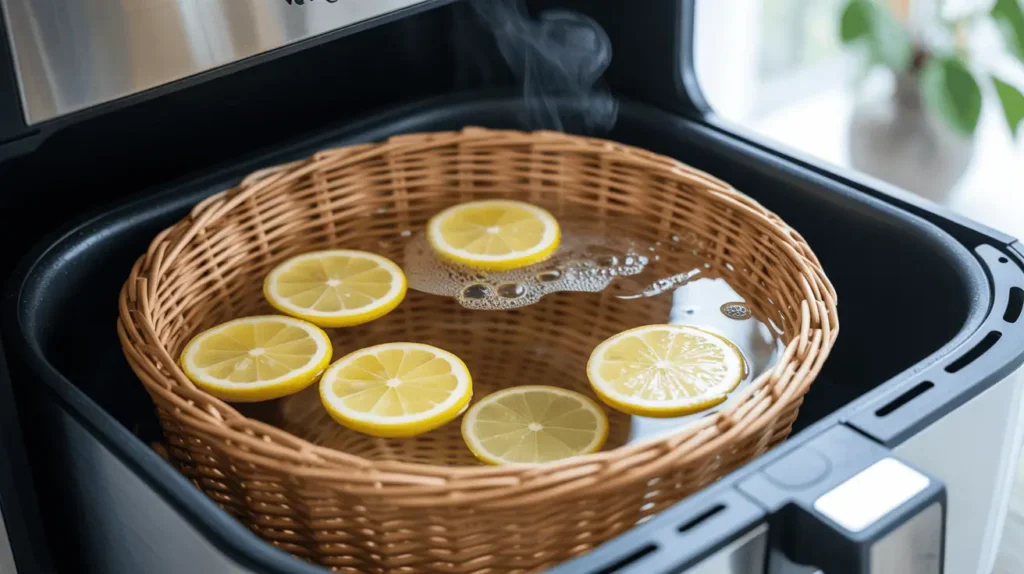
Here’s one that’ll make your kitchen smell amazing: add water, a few drops of dish soap, and 2-3 lemon slices to your basket. Run the air fryer at 350°F for 5-10 minutes . The steam loosens grime while the lemon deodorizes everything.
Just make sure to clean out all the lemon pieces afterward!
The Baking Soda Power Paste
For really tough stains, mix 2 tablespoons each of baking soda and hydrogen peroxide with a couple sprays of dish soap . Apply this paste to problem areas, let it sit for 15 minutes, then scrub gently and rinse thoroughly.
This combo is gentle enough for nonstick surfaces but tough enough to handle even the most stubborn buildup.
My Personal Air Fryer Cleaning Disaster (And What I Learned)
About six months ago, I got lazy with cleaning my air fryer. I was using it almost daily for meal prep, and I figured a quick rinse of the basket was good enough. Big mistake.
One evening, I was making salmon for dinner guests, and halfway through cooking, my kitchen filled with smoke. The smell was awful—like burned fish mixed with old grease. I had to open all the windows and turn on every fan.
When I finally looked inside the air fryer, the heating element was caked with grease that had been building up for weeks. It took me almost two hours to get it properly clean, and I was so embarrassed about the smell that I ordered pizza instead.
That’s when I learned that “good enough” cleaning isn’t actually good enough. Now I clean the basket after every single use and do a deep clean weekly. It only takes an extra 5 minutes per use, but it prevents those epic cleaning disasters.
Brand-Specific Cleaning Tips
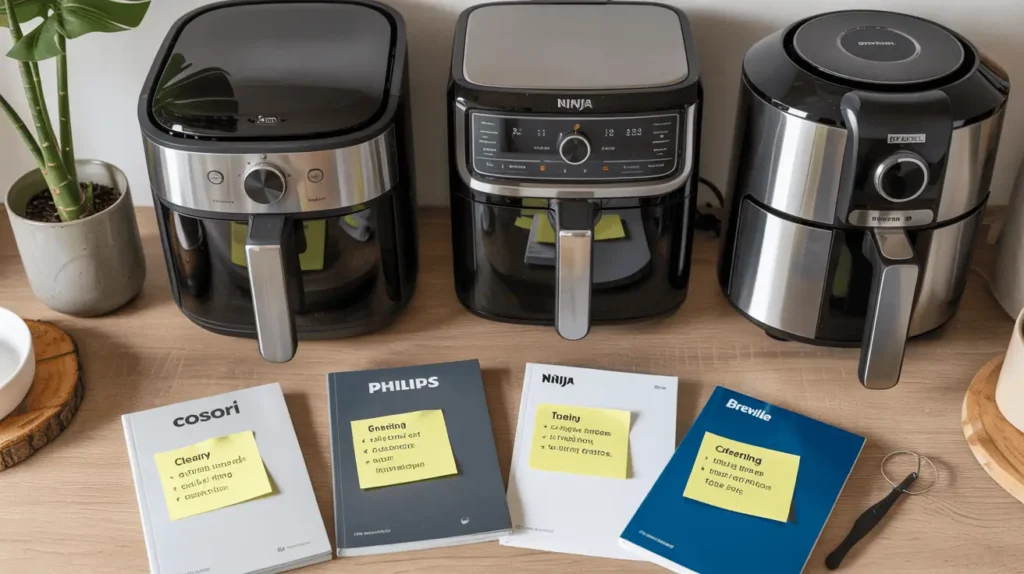
Different manufacturers have slightly different recommendations, so here’s what the major brands actually say:
Cosori Air Fryers
- Baskets and accessories are dishwasher-safe
- Clean after every use to prevent buildup
- Use baking soda paste for stubborn stains
- Always dry completely before storing
Philips Air Fryers
- Wash removable parts with hot water and soft sponge
- Turn the unit upside-down to clean the heating coil more easily
- Clean after each use for best results
Ninja Air Fryers
- Most parts are dishwasher-safe, but check your model’s manual
- Use wooden skewers or toothpicks for hard-to-reach areas
- Wipe heating element with soft-bristled brush and soapy water
Breville Air Fryers
- Use 50/50 water and vinegar mix for stubborn residue
- Avoid harsh chemicals or steel wool
- Clean with soft damp cloth only
Troubleshooting Common Cleaning Problems
Problem: Baked-On Grease That Won’t Come Off
Solution: Don’t fight it with elbow grease. Instead, let chemistry do the work. Soak the affected parts in hot, soapy water for 30+ minutes, then try the baking soda paste method. For really stubborn spots, the dishwasher pod hack works wonders.
Problem: Lingering Odors
Solution: Grease buildup is usually the culprit. Do a deep clean with the vinegar solution, then run the lemon steam clean trick. If odors persist, you might have buildup in hard-to-see areas around the heating element.
Problem: Food Sticking More Than Usual
Solution: This usually means your nonstick coating is either dirty or damaged. Clean thoroughly with gentle methods only. If food keeps sticking after a deep clean, you might need to replace the basket or use a light spray of oil before cooking.
Problem: Smoke During Cooking
Solution: This is almost always from grease buildup on or near the heating element. Stop using the air fryer immediately, let it cool, and do a thorough cleaning of both the interior and heating element area.
How Often Should You Really Clean Your Air Fryer?
Here’s the honest truth about cleaning frequency:
After Every Use:
- Quick wash of the basket and any accessories used
- Wipe down the interior with a damp cloth
- Check for visible grease buildup
Weekly (if you use it regularly):
- Deep clean the heating element area
- Thorough cleaning of all removable parts
- Exterior wipe-down
Monthly:
- Complete disassembly and deep clean
- Check for wear and tear
- Clean any areas you might have missed
The “Sniff Test”
Here’s a trick I learned from a restaurant cook: if your air fryer smells funky when you turn it on (before adding food), it needs a deep clean. Fresh air fryers should smell like… nothing.
What NOT to Do (Common Mistakes That Make Things Worse)
Don’t Use These Cleaning Products:
- Oven cleaner (too harsh for home air fryers)
- Bleach or chlorine-based cleaners
- Steel wool or metal scrubbers
- Abrasive powdered cleaners
Don’t Try These “Hacks”:
- The “soapy water air fry” method: Some people recommend running soapy water in the air fryer like a cleaning cycle. While this sometimes works, it can damage electrical components and isn’t recommended by most manufacturers
- Using metal utensils to scrape: You’ll damage the nonstick coating permanently
- Putting the main unit in water: This should be obvious, but I’ve seen it happen!
Quick Reference Cleaning Schedule
| Frequency | Tasks | Time Required |
|---|---|---|
| After each use | Wash basket, wipe interior | 5 minutes |
| Weekly | Deep clean heating element, full interior wipe | 15 minutes |
| Monthly | Complete disassembly, thorough clean | 30 minutes |
| As needed | Odor treatment, stuck-on grease removal | 10-45 minutes |
My Favorite DIY Cleaning Solution Recipe
After trying dozens of combinations, here’s my go-to cleaning solution that works on everything:
The “Everything Cleaner”:
- 1 cup warm water
- 2 tablespoons white vinegar
- 1 tablespoon dish soap
- 1 teaspoon baking soda
Mix it in a spray bottle (add the baking soda last to avoid too much foaming). This cuts through grease, neutralizes odors, and is gentle enough for daily use.
Pro Tips for Easier Cleaning
Prevention is Everything
- Line your basket with perforated parchment paper or silicone mats
- Give foods a light oil spray to prevent sticking
- Clean spills immediately while they’re still warm (but not hot)
Tools That Make a Difference
- Microfiber cloths (they grab grease better than regular rags)
- Soft-bristled toothbrush for corners and crevices
- Silicone scrapers for non-abrasive scrubbing
- Wooden skewers for picking out stuck bits
The “Two-Minute Rule”
Clean any visible mess within two minutes of finishing cooking. Hot (not scalding) grease comes off much easier than cold, set grease.
When to Replace vs. Deep Clean
Sometimes cleaning isn’t enough. Here’s when you should consider replacement:
- Nonstick coating is flaking or peeling (this can be dangerous)
- Permanent odors that won’t go away even after multiple deep cleans
- Warping or cracks in plastic components
- Heating element damage or visible corrosion
Most air fryer baskets cost $20-40 to replace, which is usually worth it for heavily damaged ones.
The Bottom Line
Cleaning your air fryer doesn’t have to be a huge chore, but it does need to happen regularly. The tricks in this guide will cut your cleaning time way down and keep your air fryer working like new.
The most important things to remember:
- Clean after every use (just the basics—5 minutes max)
- Deep clean weekly if you use it regularly
- Use gentle methods to protect nonstick surfaces
- Never skip the safety step of unplugging and cooling first
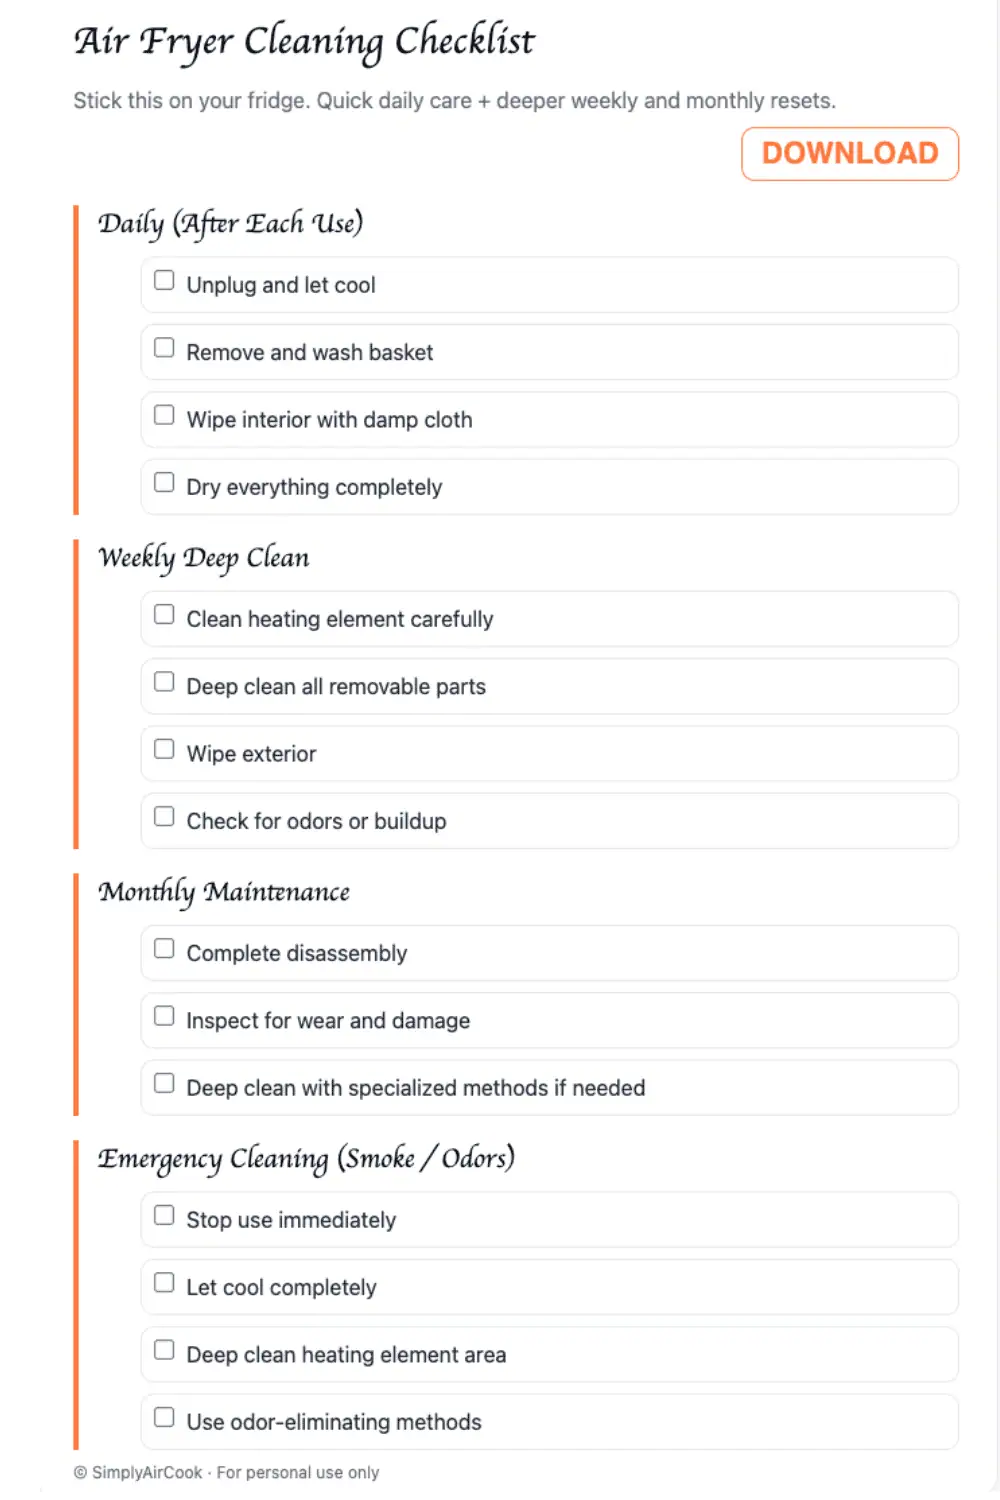
Bonus: Printable Cleaning Checklist
Here’s a quick checklist you can print and stick on your fridge:
Daily (After Each Use):
- Unplug and let cool
- Remove and wash basket
- Wipe interior with damp cloth
- Dry everything completely
Weekly Deep Clean:
- Clean heating element carefully
- Deep clean all removable parts
- Wipe exterior
- Check for odors or buildup
Monthly Maintenance:
- Complete disassembly
- Inspect for wear and damage
- Deep clean with specialized methods if needed
Emergency Cleaning (Smoke/Odors):
- Stop use immediately
- Let cool completely
- Deep clean heating element area
- Use odor-eliminating methods
Remember, a clean air fryer is a happy air fryer! With these methods, you’ll spend less time scrubbing and more time enjoying those perfectly crispy results. Happy air frying! 🍳