This post may contain affiliate links. As an Amazon Associate, I earn from qualifying purchases. If you click and buy, we may earn a small commission at no extra cost to you. Learn more.
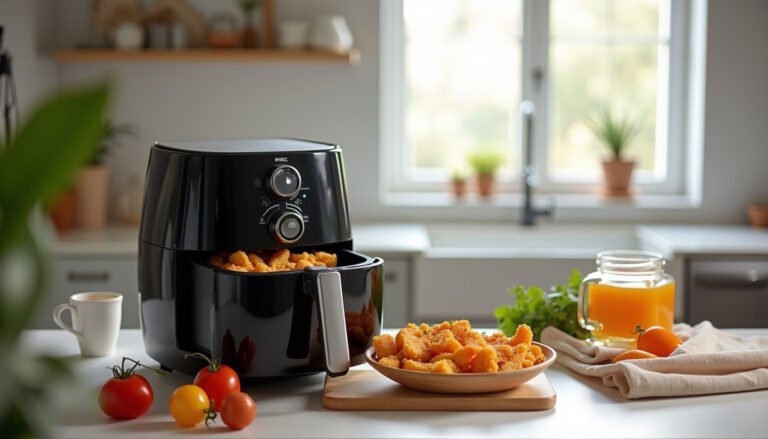
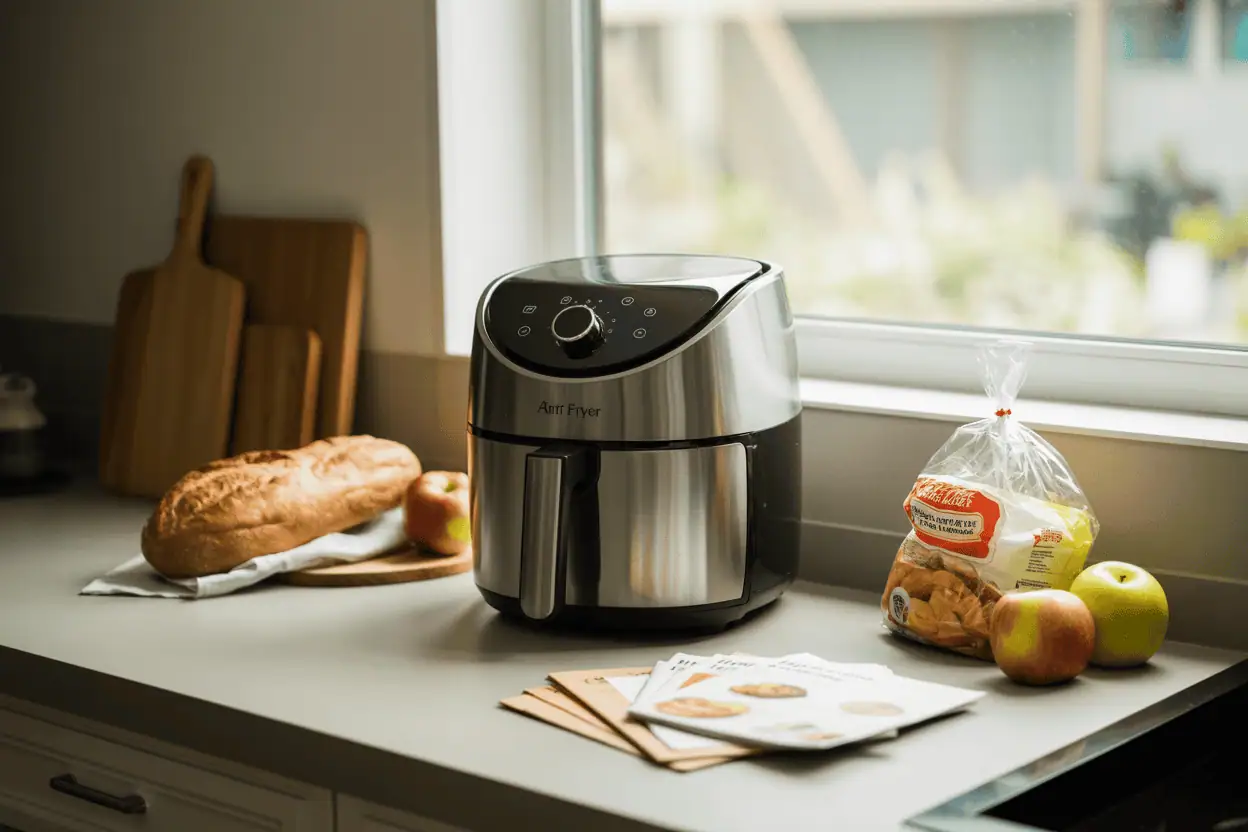
Got an air fryer sitting on your counter looking all shiny and intimidating? Yeah, I totally get it. Mine sat there for like two weeks before I finally worked up the courage to try it. Now I can’t imagine cooking without the thing – seriously, it’s on my counter humming away pretty much every day.
The thing is, most air fryer guides out there are kinda useless. They tell you the obvious stuff (like “it cooks food with hot air” – wow, thanks) but skip all the real details you actually need to know. Like why does my chicken come out dry sometimes? Or how come my fries are soggy even though everyone says air fryers make everything crispy?
I’m gonna share everything I wish someone had told me when I first started. Including the mistakes I made (spoiler: there were several), the shortcuts that actually work, and the little tricks that make the difference between “meh” food and “holy cow, this is amazing” food.
Trust me, once you get the hang of this, you’ll be that person telling everyone about your air fryer. I may or may not have converted three of my neighbors already…
What’s Actually Happening Inside Your Air Fryer
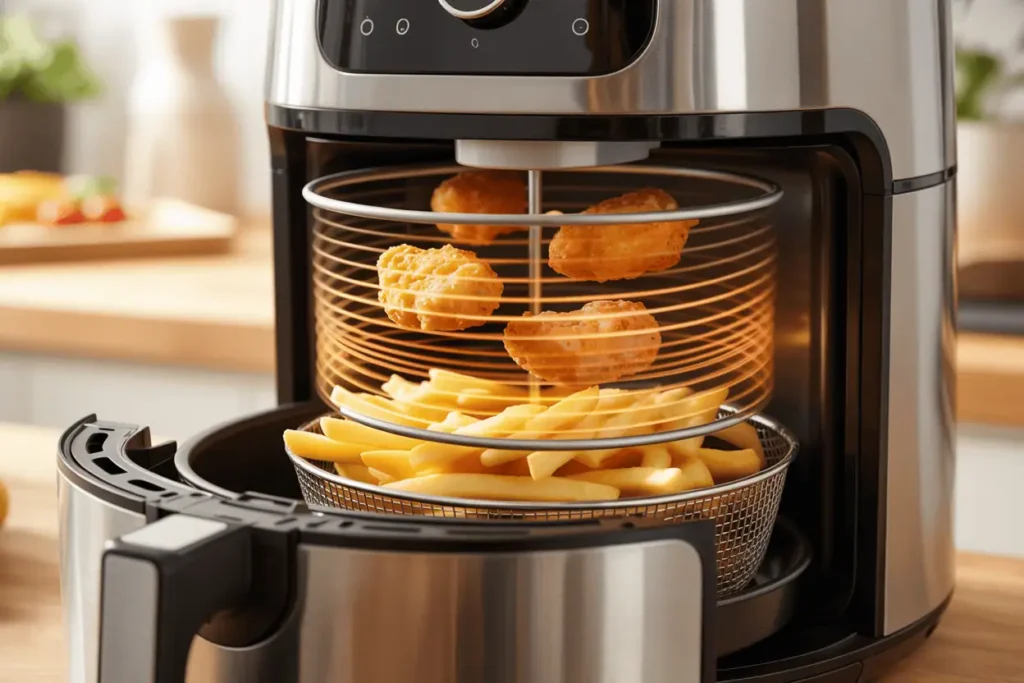
So here’s the deal – air fryers don’t actually “fry” anything. Kinda misleading name, right? What they’re really doing is blasting your food with super hot air that’s moving really, really fast.
Picture this: there’s a heating element up top that gets crazy hot (we’re talking 400°F+), and right next to it is this fan that’s basically on steroids. The fan grabs all that hot air and whips it around your food at insane speeds.
Why This Makes Food Crispy
This is where it gets cool – when that super-heated air hits your food, it triggers something called the Maillard reaction (fancy name, I know). Basically, the proteins and sugars in your food start browning and developing those amazing flavors we love .
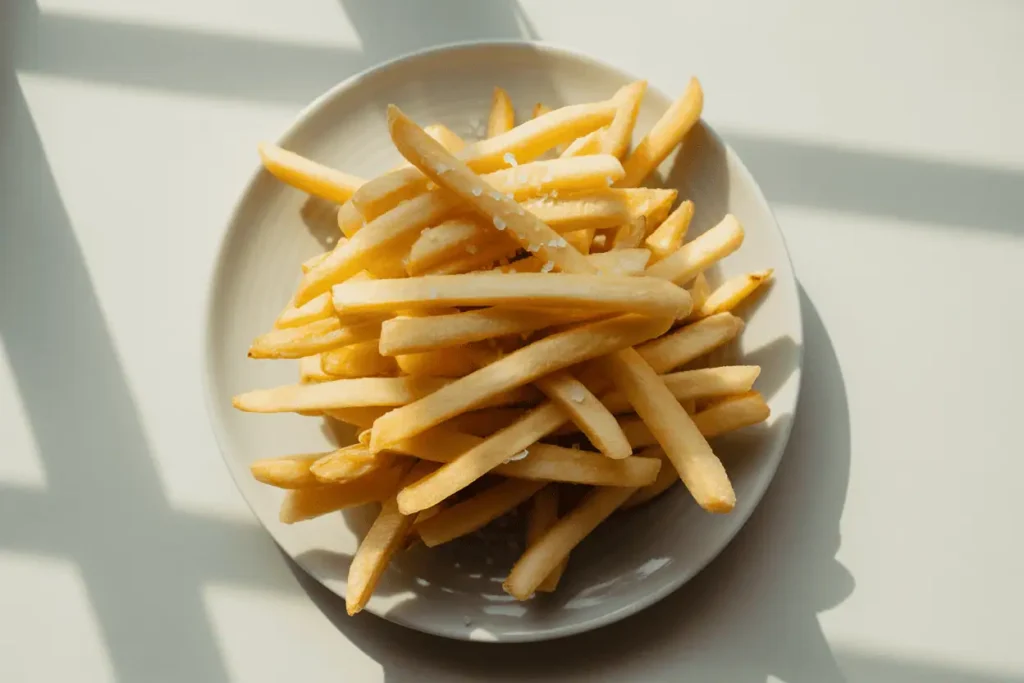
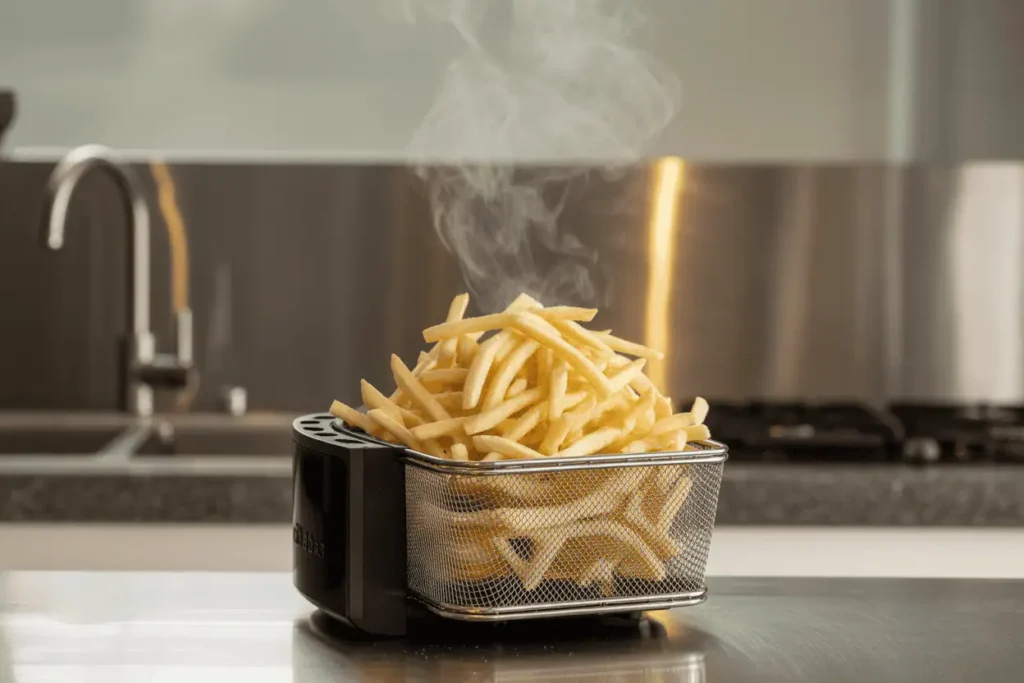
The Maillard reaction needs heat above 284°F to really get going, and air fryers deliver that consistently . That’s why your fries come out golden instead of pale and sad-looking.
I remember the first time I understood this – I was making some frozen tater tots (don’t judge), and I noticed they were getting crispy all over, not just on the bottom like in a regular oven. That’s when it clicked for me.
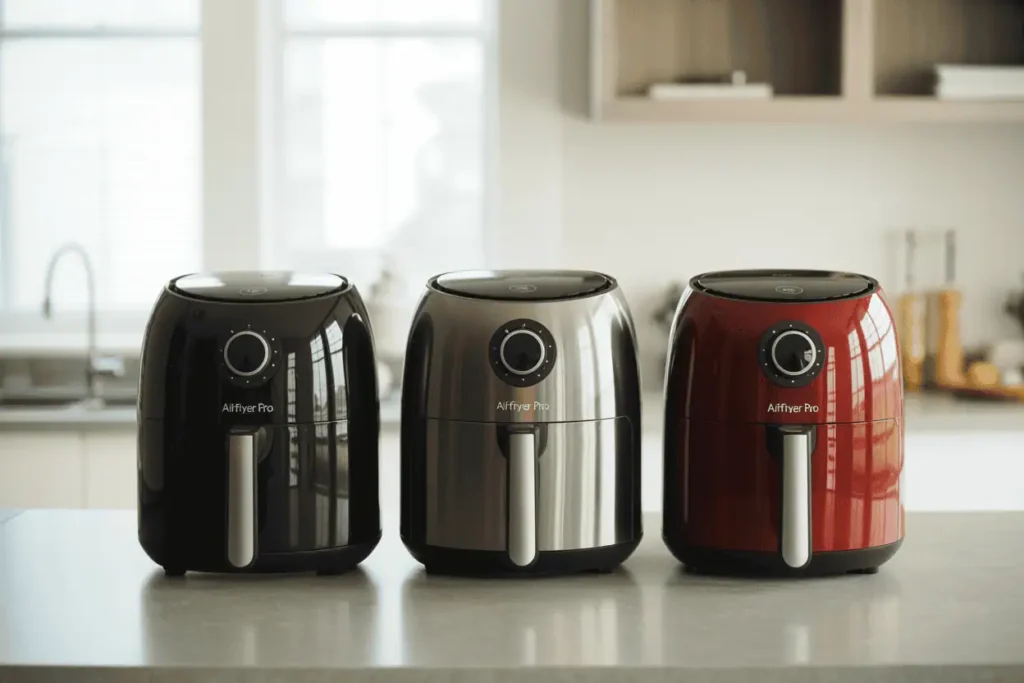
Picking Your First Air Fryer (Learn From My Mistakes)
Size Matters More Than You Think
When I bought my first air fryer, I went with the tiniest one I could find because I thought “how much food can two people really need?” Big mistake. HUGE mistake. I ended up cooking everything in these tiny batches, which took forever and totally defeated the point of quick cooking.
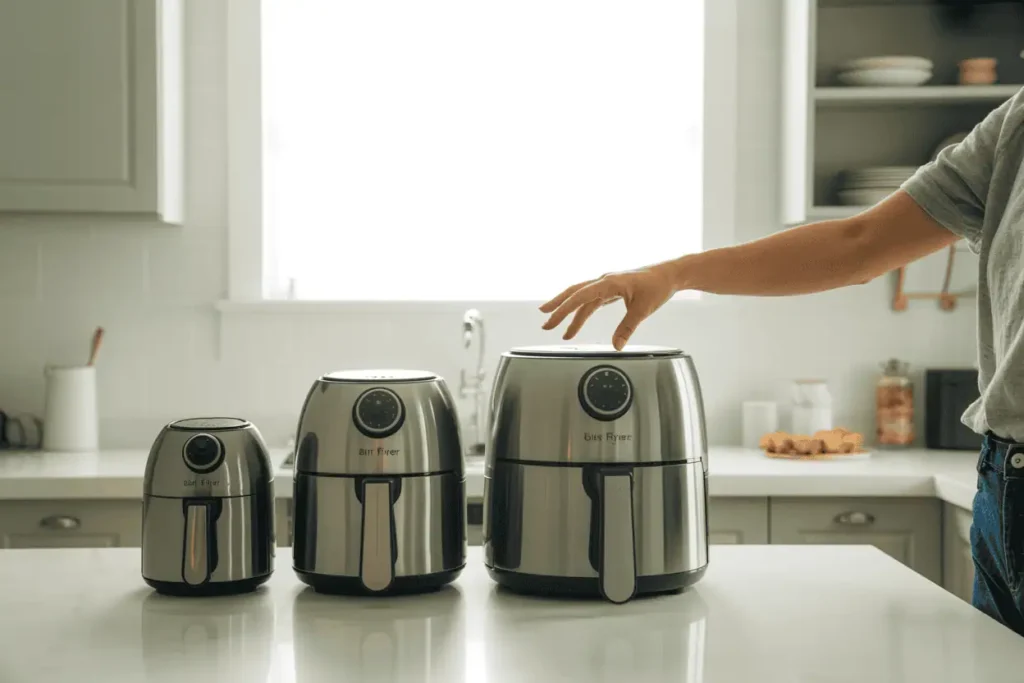
Most families need something in the 4-6 quart range. Anything smaller and you’ll be doing what I did – cooking dinner in shifts. Trust me, it gets old fast.
Models That Actually Work
The market’s totally flooded with options right now, which is honestly overwhelming. But here’s what I’ve learned after trying several different models (and talking to way too many other air fryer people):
| Model | Why It’s Good | Price Range | My Take |
|---|---|---|---|
| Instant Vortex Plus 6-Quart | User-friendly, consistent results | $140-$160 | This is what I use now – love it |
| Cosori TurboBlaze | Compact but powerful | $120 | Great if you’re short on space |
| Ninja Crispi | Glass design, no plastic taste | $160-$180 | Looks really nice, works well |
Honestly? You don’t need to spend a fortune. My first air fryer was like $80 from Target and it worked fine once I figured out how to use it properly.
Don’t Go Crazy With Accessories
Here’s where I made another mistake – I bought basically every accessory they make for air fryers. Most of them are sitting in my cabinet unused.
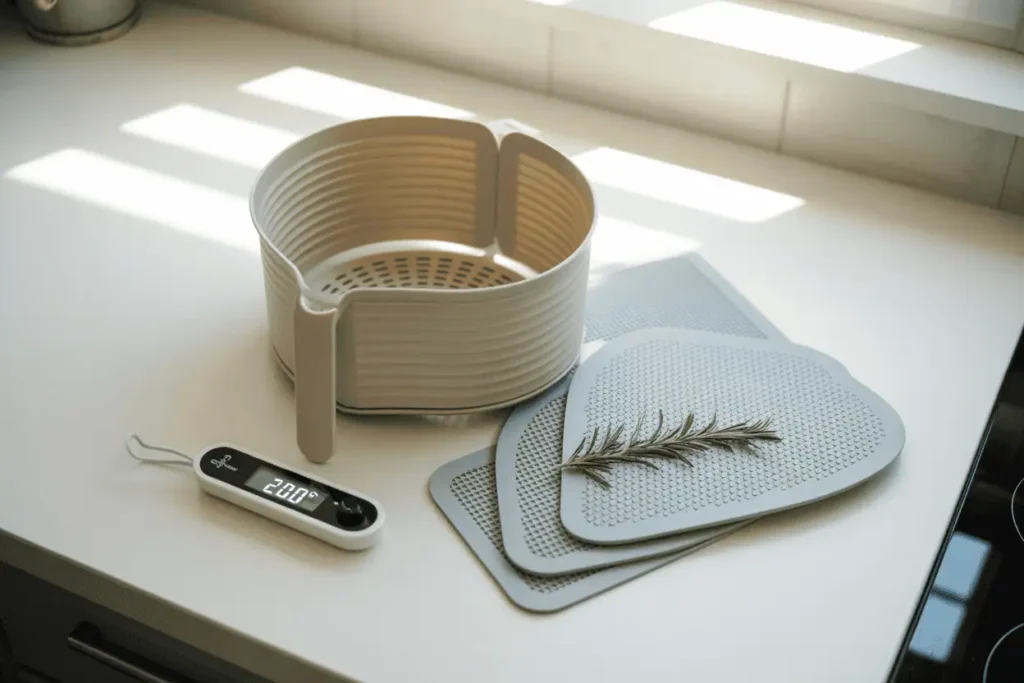
The ones you actually need:
- Silicone-lined basket – prevents sticking without scratching
- Good meat thermometer – takes the guesswork out of doneness
- Silicone mats – way easier cleanup
Skip the metal utensils and aerosol sprays. I learned this the hard way when I scratched up my first basket pretty badly .
Getting Started: The Stuff Nobody Tells You
Preheating – Do You Actually Need It?
This is probably the most confusing thing about air fryers. Some people swear by preheating, others say it’s pointless. Here’s what I’ve figured out after lots of trial and error:
For most stuff, 3-5 minutes of preheating helps. But for really delicate things like fish that cook super fast, you might wanna skip it.
When in doubt, I preheat. Takes like 3 minutes anyway, and I use that time to prep my food.
The Oil Situation (This Took Me Forever to Figure Out)
At first, I was using way too much oil because I thought more oil = more crispy. Wrong. Then I swung too far the other way and used basically no oil, which gave me pale, boring-looking food.
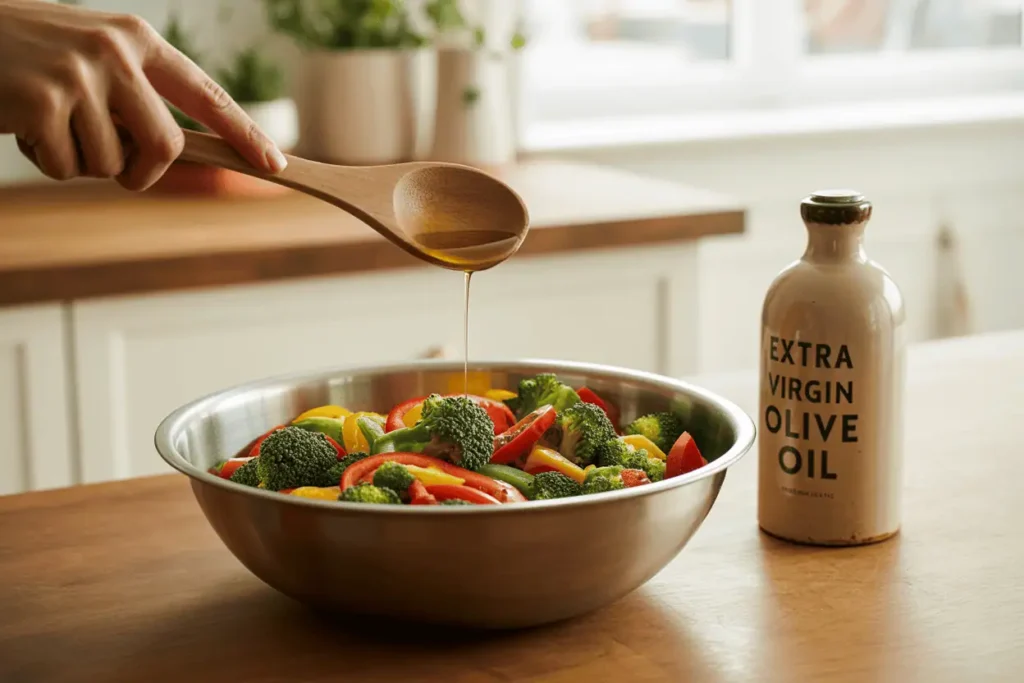
The sweet spot is about 1/2 to 1 tablespoon for most batches. Here’s my method: I toss the food with oil in a bowl before putting it in the air fryer. Way more even coverage than trying to spray it directly.
And seriously, skip those aerosol cooking sprays. They can mess up your air fryer over time .
Shaking and Flipping – The One Rule I Never Break
Here’s the golden rule: shake the basket or flip your food halfway through cooking. I set a timer for the halfway point and just do it, even if I think I don’t need to.
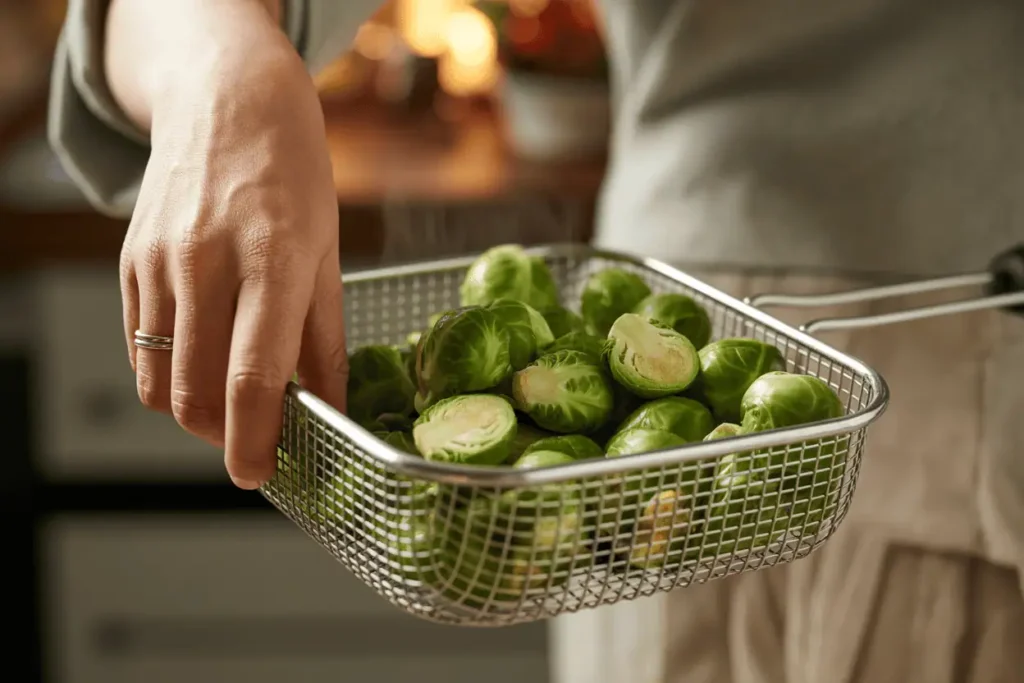
I learned this lesson with Brussels sprouts. First batch I made, I didn’t shake them at all. Half were perfectly crispy, the other half were basically charcoal. Not cute.
Temperature and Timing (The Part Everyone Messes Up)
This is where most beginners go wrong – myself included. I used to just guess at temperatures and times, which led to… well, let’s call them “learning experiences.”
Frozen Foods: Go Hot and Fast
Frozen stuff needs higher heat because you’re fighting ice crystals and moisture. Most frozen things do great at 400°F for 15-20 minutes. I usually go with 400°F because I’m impatient and want crispy results .
Fresh Foods: Medium Heat Works Best
Fresh vegetables and lighter stuff don’t need as much heat. I typically start at 375°F and adjust from there. Some delicate things like fish might need even less.
Proteins: Find the Sweet Spot
Chicken, pork, beef – these need consistent medium-high heat to cook through safely while still getting crispy outside. I usually stick with 375°F for most proteins.
Pro tip: Get yourself a good meat thermometer. Seriously. It takes all the guesswork out of whether your chicken is actually done.
Common Problems and How to Fix Them
Soggy Food (My Biggest Early Frustration)
This was honestly my biggest problem when I started. Usually caused by one of three things:
- Overcrowding – I know it’s tempting to cram everything in, but don’t
- Too much moisture – always pat food dry first
- Not enough oil – you need some for browning
I still sometimes get impatient and try to cook too much at once. Never works out well.
Uneven Cooking
Nothing’s more annoying than food that’s burnt on one side and raw on the other. This usually happens when you don’t shake enough or your pieces are different sizes.
The fix:
- Cut everything roughly the same size
- Shake every 5-7 minutes
- Don’t overcrowd (yeah, I’m saying it again)
- Flip bigger items at least once
Smoke Issues
A little smoke is normal, especially with fatty foods. But if you’re getting lots of smoke, something’s wrong.
Usually it’s either too much oil or you need to clean your air fryer. I add a tablespoon of water to the bottom when cooking really fatty stuff like bacon – helps cut down on smoke.
Taking Care of Your Air Fryer
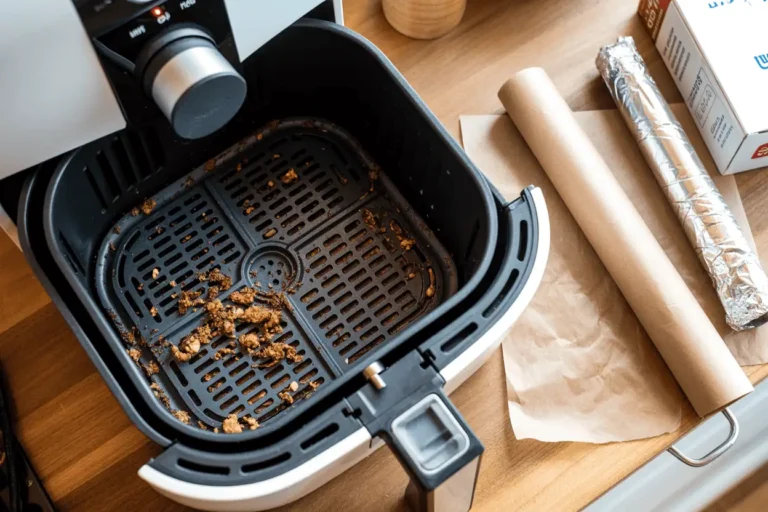
Cleaning (The Part Nobody Wants to Do But You Gotta)
I’ll be honest – cleaning after every use is kinda annoying. But if you don’t, things get gross pretty quick.
After each use, let it cool completely, then wash the basket and tray with warm soapy water. The heating element needs attention too, but not every time. Just wipe it with a damp cloth when it’s cool.
My weekly routine:
- Wash all removable parts
- Wipe down the inside
- Check the heating element for grease
- Clean the outside
Making It Last
Take care of your air fryer and it’ll last for years. My first one lasted about two years before I accidentally messed up the coating. My current one is three years old and still works like new because I’m more careful now.
Key things:
- No metal utensils on nonstick surfaces
- No harsh cleaners
- Always let it cool before cleaning
- Keep vents clear when storing
Your Free Air Fryer Calculator and Resources
Okay, this is the part I’m actually super excited about. Since we’re all about making your air frying journey easier, I’ve created some free resources just for you. Print them out and stick them on your fridge – trust me, you’ll reference them constantly during your first few weeks.
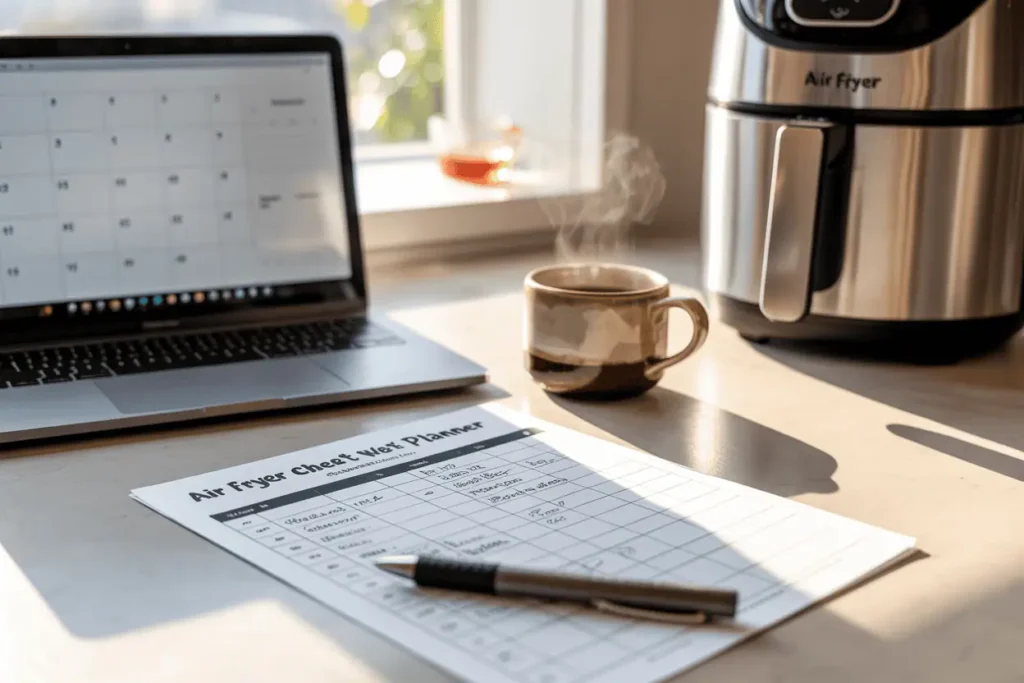
What You’ll Get:
- Temperature Conversion Calculator – converts any oven recipe to air fryer settings
- Cooking Times Cheat Sheet – times and temps for the most common foods
- Weekly Meal Planner – air fryer-friendly meal planning made easy
- Shopping List Template – organized by food categories
These are the exact tools I use in my own kitchen every week. I created them after way too many burnt dinners and guessing games with temperatures. They’re designed to take all the stress out of air frying so you can focus on enjoying amazing food.
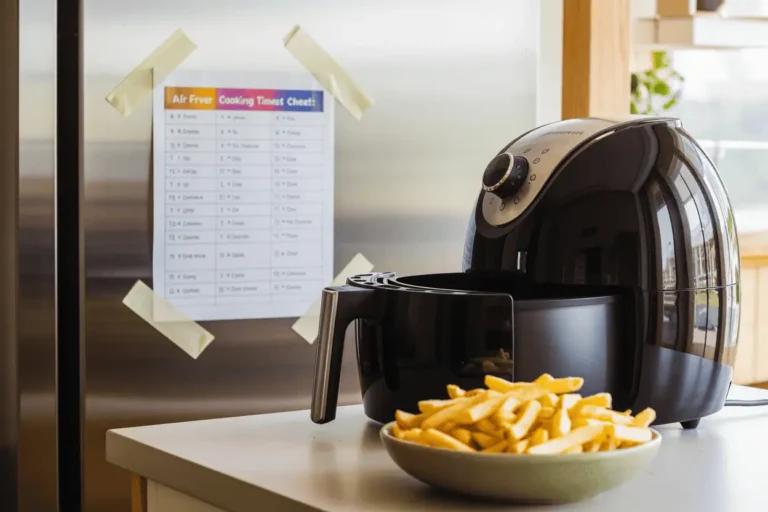
Your Cheat Sheet for Common Foods
Here’s what I keep taped to my fridge (seriously, it’s there right now):
| Food | Temp | Time | Notes |
|---|---|---|---|
| Frozen Fries | 400°F | 15-20 min | Shake every 5 minutes |
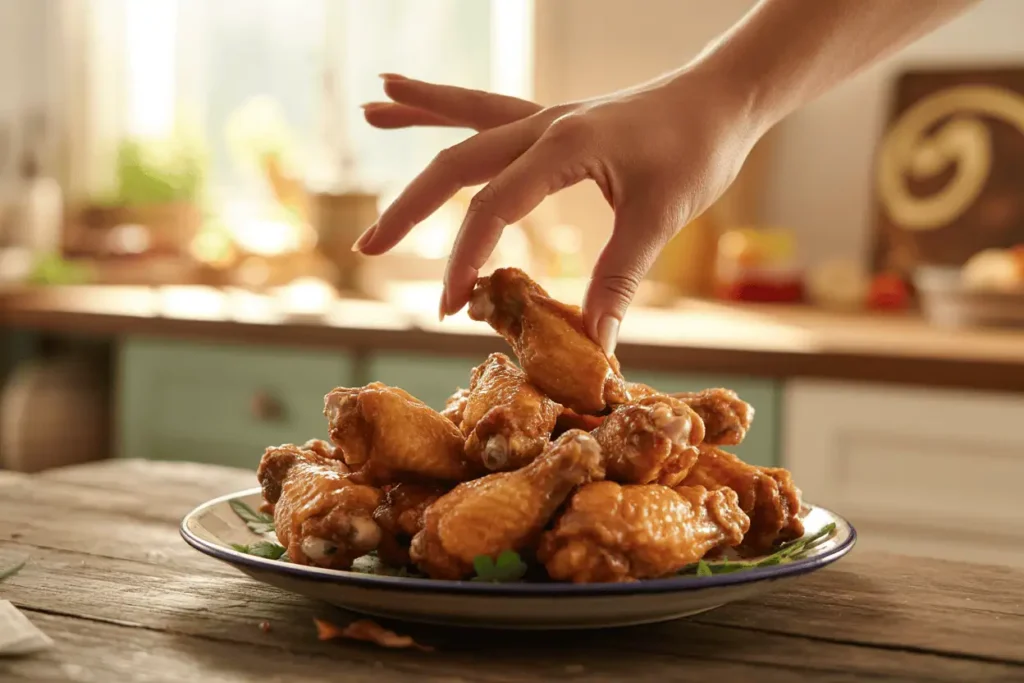
| Chicken Wings | 380°F | 20-25 min | Flip once halfway |
| Fish Fillets | 360°F | 10-12 min | Don’t flip delicate fish |
| Fresh Veggies | 375°F | 8-12 min | Toss with oil first |
| Bacon | 350°F | 8-10 min | Add water to reduce smoke |
Want to keep this cheat sheet handy while you’re cooking? I made a printable version you can download and stick right on your fridge! No more scrolling through your phone with messy fingers – just grab it here and make air frying even easier.
These are starting points – your air fryer might run differently. Start here and adjust based on your results.
My Best Tips After Three Years of Air Frying
Pat Everything Dry
Moisture is the enemy of crispy. Always, always pat your food dry before cooking.
Don’t Skip the Oil Completely
You need some oil for browning and flavor. Not much, but some.
Size Matters
Cut things roughly the same size so they cook evenly.
Use Your Timer
Set it for halfway through and shake/flip. Every time.
Trust Your Nose
If it smells done, check it. Your nose is usually right.
Keep a Food Log
I know it sounds nerdy, but for the first few weeks, jot down what worked and what didn’t. You’ll learn your air fryer’s personality faster.
Final Thoughts
Learning to use an air fryer isn’t rocket science, but it does take some practice. Don’t get discouraged if your first few attempts aren’t perfect – mine definitely weren’t. The key is understanding how your specific model works and adjusting accordingly.
Start with simple stuff like frozen fries or chicken tenders while you get comfortable. Once you’ve got those down, you can start experimenting with more complex things.
The air fryer market is booming for good reason – these machines really can change how you cook . They’re faster than regular ovens, cleaner than deep frying, and way more versatile than most people realize.
Bottom line: Master the basics first. Everything else builds from there.
Your air fryer journey starts now. Pick something simple, pay attention to what works (and what doesn’t), and keep experimenting. Before long, you’ll be making crispy, delicious meals that’ll have you wondering how you ever cooked without one.
Every air fryer expert started exactly where you are right now. The difference? They kept trying, kept learning, and didn’t give up after a few burnt pieces of chicken. You’ve got this!
And hey, if you mess up a few meals along the way… that’s totally normal. I once turned perfectly good salmon into something that resembled cardboard. But that’s how you learn, right?
Ready to level up your air frying game? Download the free calculator above and start creating restaurant-quality meals at home. For more air fryer tips, tricks, and recipes, visit us at SimplyAirCook.com.